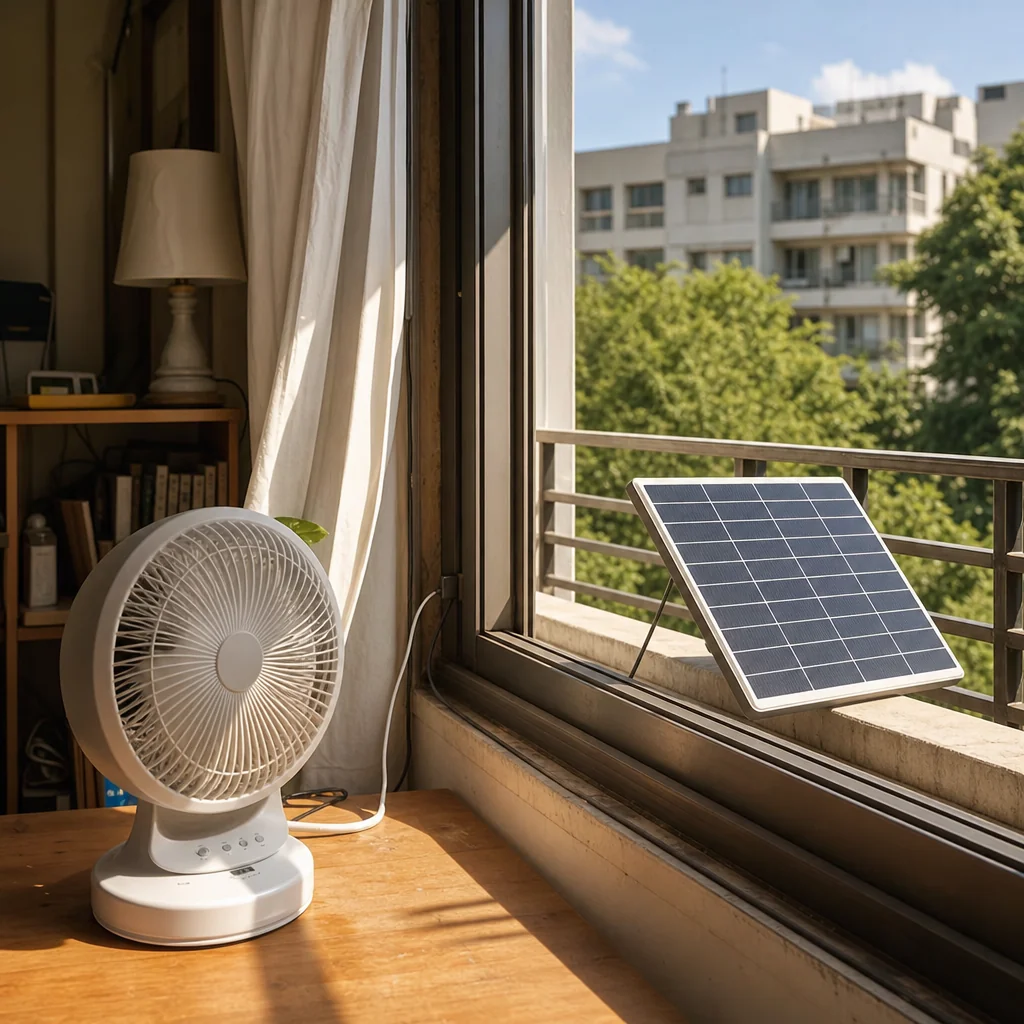
Place the panel where it gets the longest stretch of direct sun, usually facing south, and keep the fan indoors with a short, safe, weather-protected wire run. For most small rechargeable fans, correct placement matters more than buying a larger panel.
Is your fan still dying by late afternoon when the room is hottest and the air feels stuck? Small off-grid solar setups work well when the load is modest and the panel is sited carefully. This guide shows you how to place the panel, size it for real fan use, and avoid the mistakes that make solar gear disappointing.
Start With the Real Job: Charging a Small Battery Reliably
A solar panel for an indoor rechargeable fan is not cooling the room directly the way a rooftop system powers a whole house. Its real job is to refill a battery during the day so the fan can run when you need airflow most. That distinction matters because battery-based off-grid systems depend on load planning and charging quality, not marketing wattage alone. Small solar systems are built around the same chain of parts, from panel to charge controller to battery to appliance, in both remote-home case studies and hands-on DIY builds panel-to-battery system design.
For a rechargeable fan, the first calculation is simple. If your fan draws 10 watts and you use it for 8 hours, that is about 80 watt-hours per day. In a location with about 4 to 5 good sun hours, a 20-watt panel may cover that on paper, but real systems lose energy to heat, wiring, charging inefficiency, and imperfect sun angles. In practice, that is why modest off-grid guidance usually recommends adding margin rather than sizing to the bare minimum off-grid system sizing margin. For a small indoor fan, that often makes a 30- to 50-watt panel the smarter choice.
Where the Panel Should Actually Go
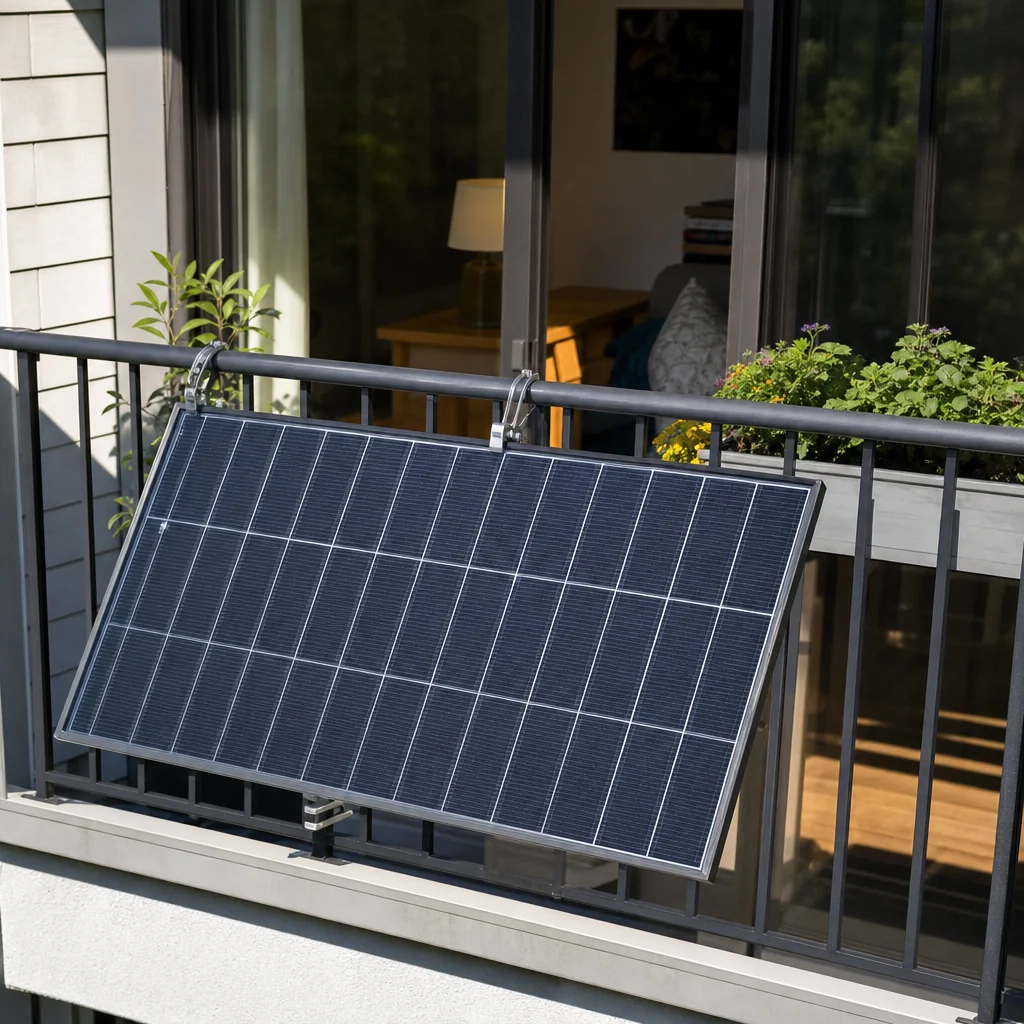
The best place for the panel is outside, not inside the room with the fan. A south-facing location with minimal shade is the default target in the U.S., and a tilt near local latitude is a reliable year-round starting point for small systems year-round panel angle guidance. If you can mount the panel on a balcony rail, patio frame, shed wall, or small ground stand that stays clear of trees and roof shadows, that is usually better than setting it behind a window.
That advice sounds obvious, but it solves the most common failure point. Solar output drops quickly when the panel gets partial shade, weak winter angles, or only brief midday sun. Off-grid designers treat sun access and shading as first-order issues because the array must both serve the load and recharge storage, especially during shorter winter days winter solar site conditions. For a fan, that means the panel should catch the earliest practical morning sun and hold decent exposure through midafternoon, not just get a bright hour at noon.
A practical example helps. If your apartment gets strong sun only from 1:00 PM to 4:00 PM at one window, that is a marginal charging site for daily fan use. If the balcony corner gets six clearer hours and no overhang shadow, the balcony is the better panel location even if it means routing a slightly longer cable, provided the cable is secured and weather-protected.
Window Placement Is a Compromise, Not the Goal
Sometimes outdoor mounting is not possible, especially in rentals. In that case, a bright window can work as a backup option, but expect weaker charging. Panel performance depends heavily on light conditions, placement, and shading, and small systems are sensitive to even modest production losses. In plain terms, a window setup may keep a fan topped up for light use, but it is less dependable for all-day cooling during hot weather.
How to Aim the Panel for Better Daily Charging
Tilt and orientation matter, but not with the same precision you see in large residential systems. For a fan panel, the goal is strong, consistent charging, not maximum annual yield. A south-facing panel is still the best default, while east- or west-leaning placement can be acceptable if that is when your need is highest. If your room overheats later in the day, a slight southwest bias can make sense because it favors afternoon charging instead of early-morning production.
Season also changes the answer. In much of the northern U.S., winter sun hours can drop sharply, and even small systems may need either more panel capacity or lower energy use during cloudy periods. If your fan is mainly a summer appliance, a slightly shallower summer-friendly tilt is reasonable. If you want year-round emergency charging, keep the tilt closer to latitude and prioritize an unshaded location over fine-tuning the angle by a few degrees.
The most reliable approach is to test the site for two or three days before mounting anything permanently. Put the panel in the intended spot, note when direct sun starts and ends, and check whether the fan battery is full by late afternoon. That kind of hands-on monitoring mirrors what experienced off-grid users do with larger systems: they watch production, battery condition, and load timing because limited energy has to be managed closely.
Wiring, Charging, and Safety Matter More Than People Expect
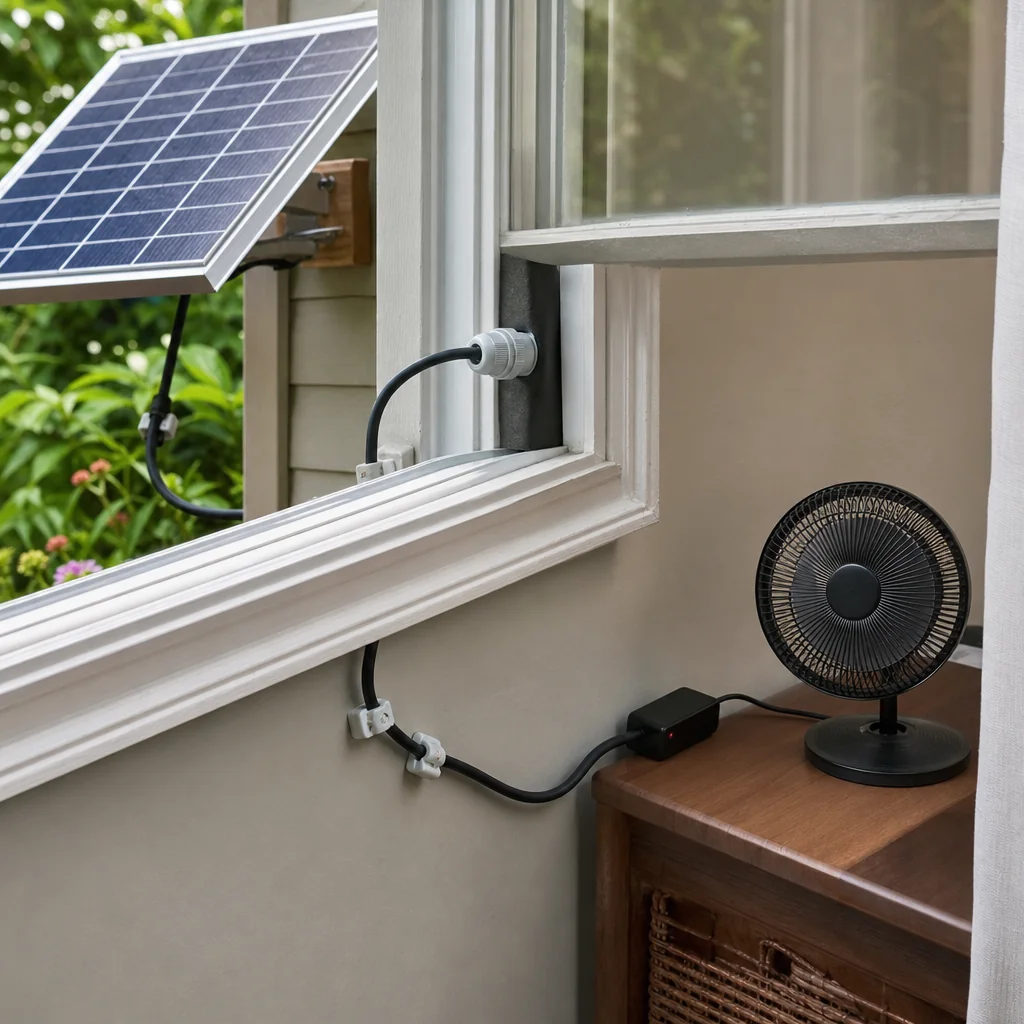
Even for a tiny fan setup, the panel should not be connected directly to a battery unless the fan was designed as an all-in-one matched kit. Small off-grid systems use charge control to prevent battery damage and unstable charging, and that advice applies just as much to compact battery loads as it does to cabins. If your fan has a built-in solar input designed by the manufacturer, use that path. If you are building your own setup, use the proper controller for the battery chemistry.
Cable routing deserves the same common sense. Keep the run as short as practical, avoid pinch points at windows and doors, and protect outdoor wire from abrasion and rain. Small systems can still overheat wires or fail at corroded connections if they are assembled carelessly. That is why hands-on solar builders emphasize proper fusing, stranded wire, crimped terminals, and weather-resistant connections even on modest systems.
There is also a comfort tradeoff to consider. A larger panel gives you more charging margin, but it also needs more secure mounting space and can be visually intrusive on a small balcony. A smaller panel is easier to place, yet may leave you rationing fan speed after a cloudy day. That tradeoff is normal in off-grid living, where the best setups are the ones matched honestly to real use rather than idealized use.
A Simple Placement Strategy That Works in Real Homes
For most people, the practical winner is a small panel mounted outside on a south-facing balcony, porch rail, shed wall, or portable stand, angled to catch midday sun and kept clear of shadows from railings, plants, or nearby buildings. The fan stays indoors where you need airflow, while the panel stays in the brightest safe spot available. If you have to choose between a perfect angle with partial shade and a slightly imperfect angle with full sun, choose full sun.
This small-system mindset matches what broader resilient-home projects keep proving: efficiency first, then generation, then monitoring and adjustment efficiency-first home upgrades. With a rechargeable fan, efficiency first means using a low-watt fan at the speed you actually need, charging it from a well-placed panel, and not expecting a tiny setup to behave like whole-home backup.
When a Bigger Solar Setup Is Worth It
If your fan is only one part of a larger off-grid plan, placement should be designed with expansion in mind. Modular solar systems are easier to grow later, and that matters if you expect to add lights, cell phone charging, a router, or other small loads over time modular off-grid expansion. In that case, place the first panel where a second panel could fit later, and choose a wiring route that will still make sense after an upgrade.
The opposite is also true. If all you want is dependable airflow during outages or hot afternoons, a compact dedicated fan setup is often the better choice. Small off-grid systems are most useful when they stay simple, visible, and easy to maintain.
A well-placed panel will not make a weak fan perform miracles, but it will make a good rechargeable fan much more dependable. Put the panel in real sun, give the battery proper charging, and the setup becomes practical instead of gimmicky.

Daniel Brooks
Daniel Brooks is part of the Farseen editorial team.