Most “dead” solar fans are not dead at all. They usually fail because of troubleshooting order, cleaning habits, or battery setup mistakes.
If your fan suddenly stops spinning or refuses to charge, it is easy to assume the motor is gone. In real repair scenarios, the same three user mistakes keep showing up and often turn a simple fix into a bigger bill. You’ll get a clear diagnostic flow, a cleaning diagram, a LiFePO4 vs regular battery lifespan table, and practical cloudy-day runtime tips.
Mistake 1: Testing in the Wrong Conditions
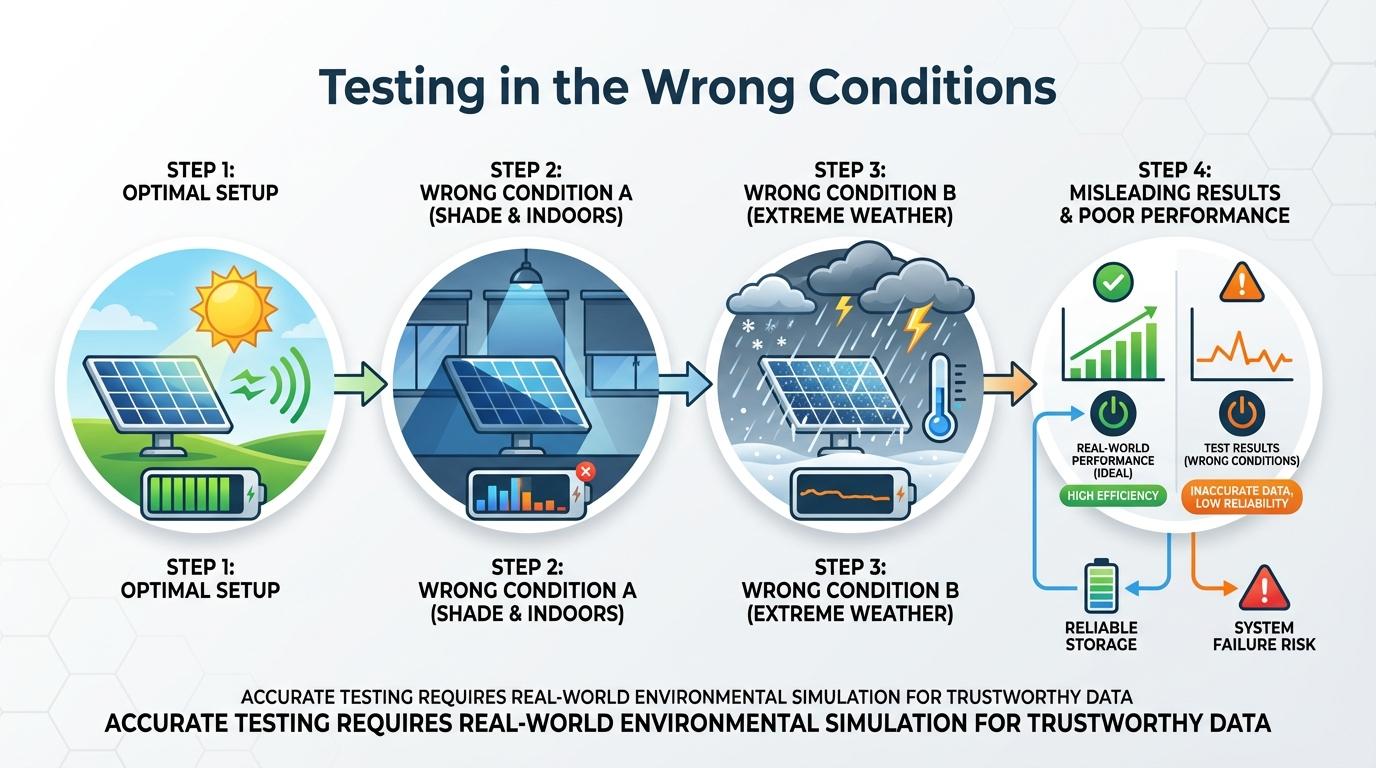
A sunny-day baseline matters because cloudy weather can make a healthy fan look broken. Manufacturer troubleshooting notes also show some attic fans may stay off below about 80°F, so “not spinning” can be normal when the attic is still cool.
A thermostat trigger around 90°F is common on solar attic fan setups, which is why early-morning tests often mislead users. If blades only twitch or rock, low solar input can be the cause rather than a failed motor.
Repeated on/off testing is another costly error. If the unit smells hot, shows damage, or got wet, stop testing, disconnect power, and document symptoms before touching hardware.
Quick pre-check before opening anything
- Confirm direct sun on the panel.
- Check attic temperature and thermostat setting.
- Look for loose external connections.
- Test once in full sun, then stop random retests.
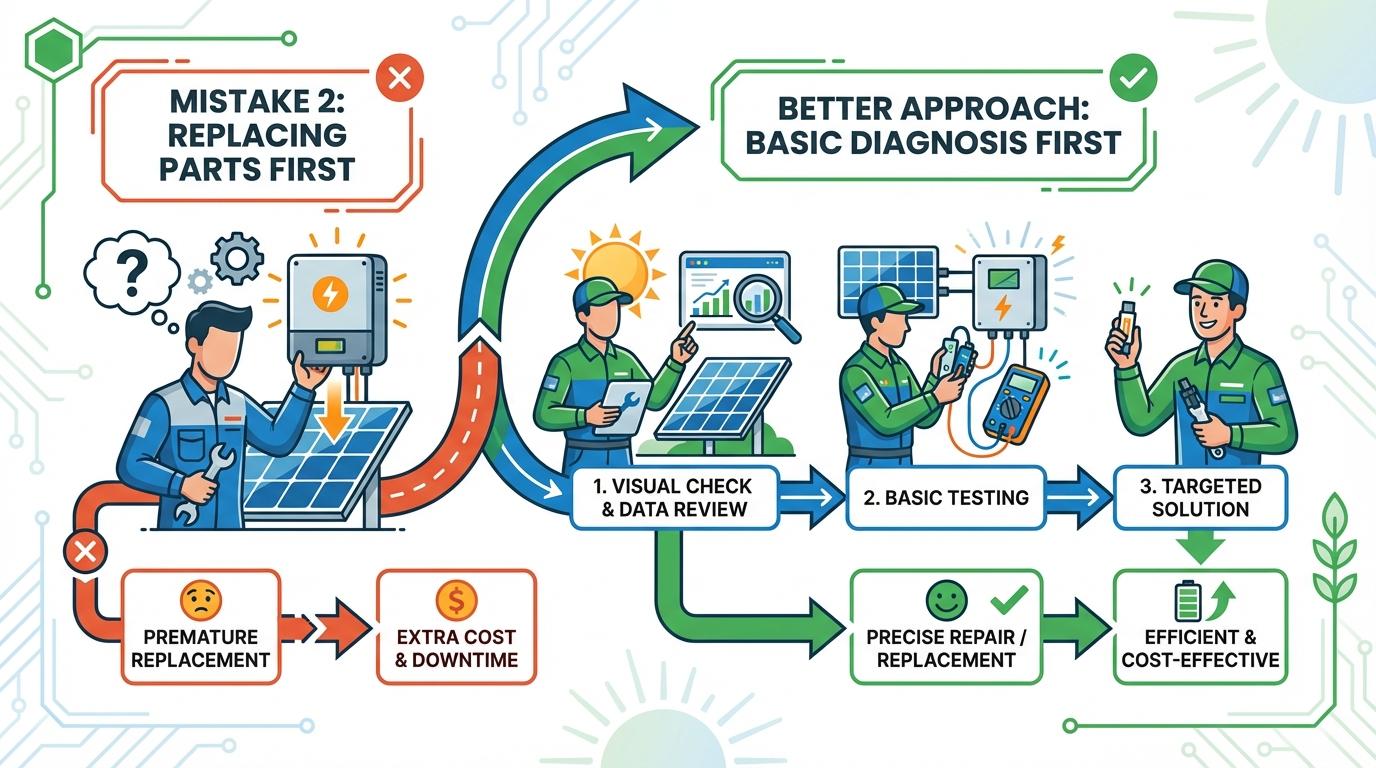
Mistake 2: Replacing Parts Before Basic Diagnosis
A correct port and cable check solves many “not charging” cases before any part replacement. Wrong adapters, loose connectors, reversed polarity, and incompatible voltage ranges are common root causes.
A charge controller mismatch can also block charging even when panel and battery are fine. If controller chemistry is set for the wrong battery type, the system may undercharge, over-limit, or refuse input.
When diagnosing, change one variable at a time. If you swap cables, battery, and controller settings all at once, you lose the fault trail and usually spend more.
10-minute no-spin/no-charge flow
- Verify sun exposure and remove temporary shade.
- Check connectors, wire condition, and fuse/port selection.
- Confirm controller battery profile and voltage range.
- Measure panel input in full sun if you have a meter.
- Test with one known-good cable or adapter.
- Replace parts only after one failed component is confirmed.
Mistake 3: Poor Cleaning and Wrong Maintenance Habits
A dirty panel surface can cut solar input enough to make fans run slowly or intermittently. Dust, pollen, and bird droppings are especially common in spring and late summer.
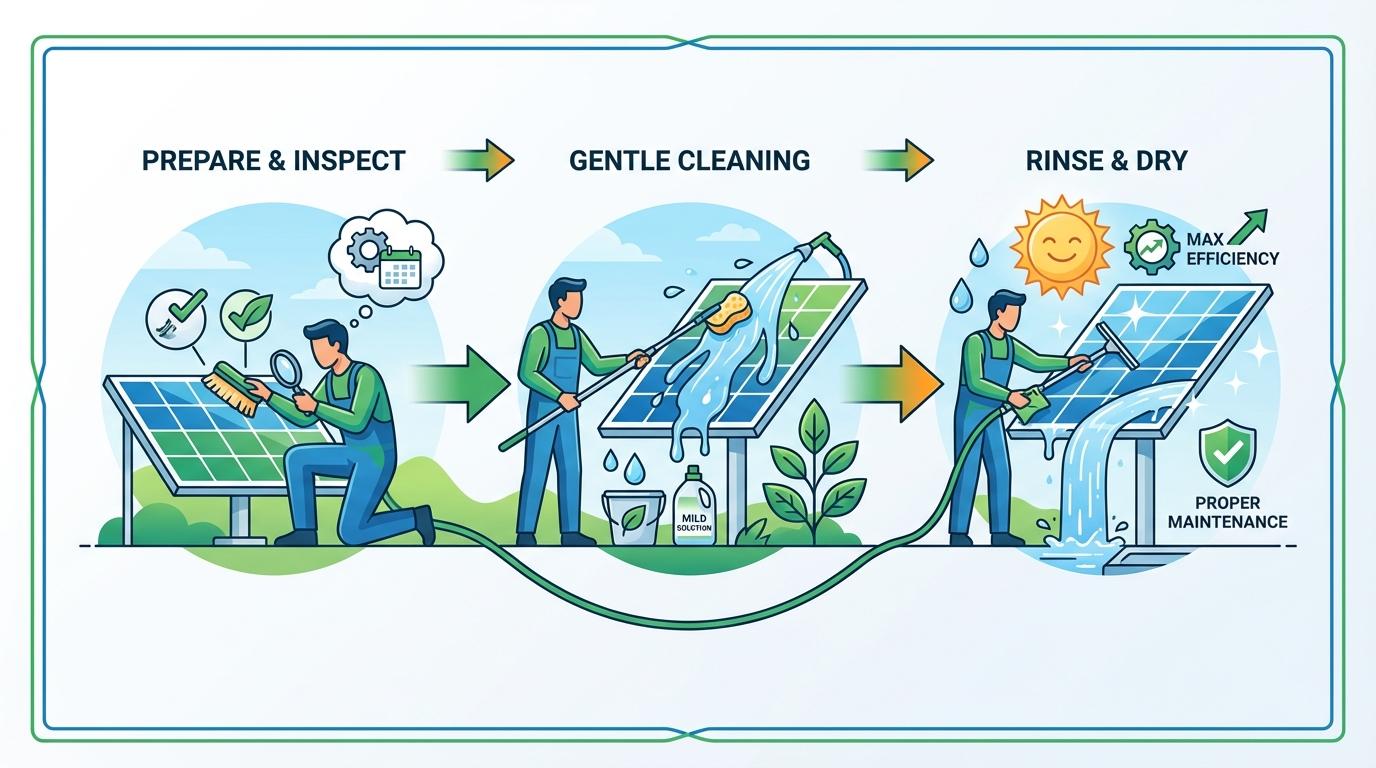
A soft cloth cleaning method is safer than aggressive solvents or abrasive pads. Harsh methods can scratch the panel surface and reduce output over time.
Skipping maintenance until failure is the third big miss. A simple 3- to 6-month check interval catches debris, loose screws, and degraded wiring before they become major faults.
Cleaning steps diagram
[Power OFF / isolate fan]
          |
          v
[Wait 5–15 minutes]
          |
          v
[Inspect panel: shade, debris, cracks]
          |
          v
[Dry wipe with microfiber]
          |
          v
[Light damp wipe with water]
          |
          v
[Dry fully + reconnect]
          |
          v
[Test in full direct sun]
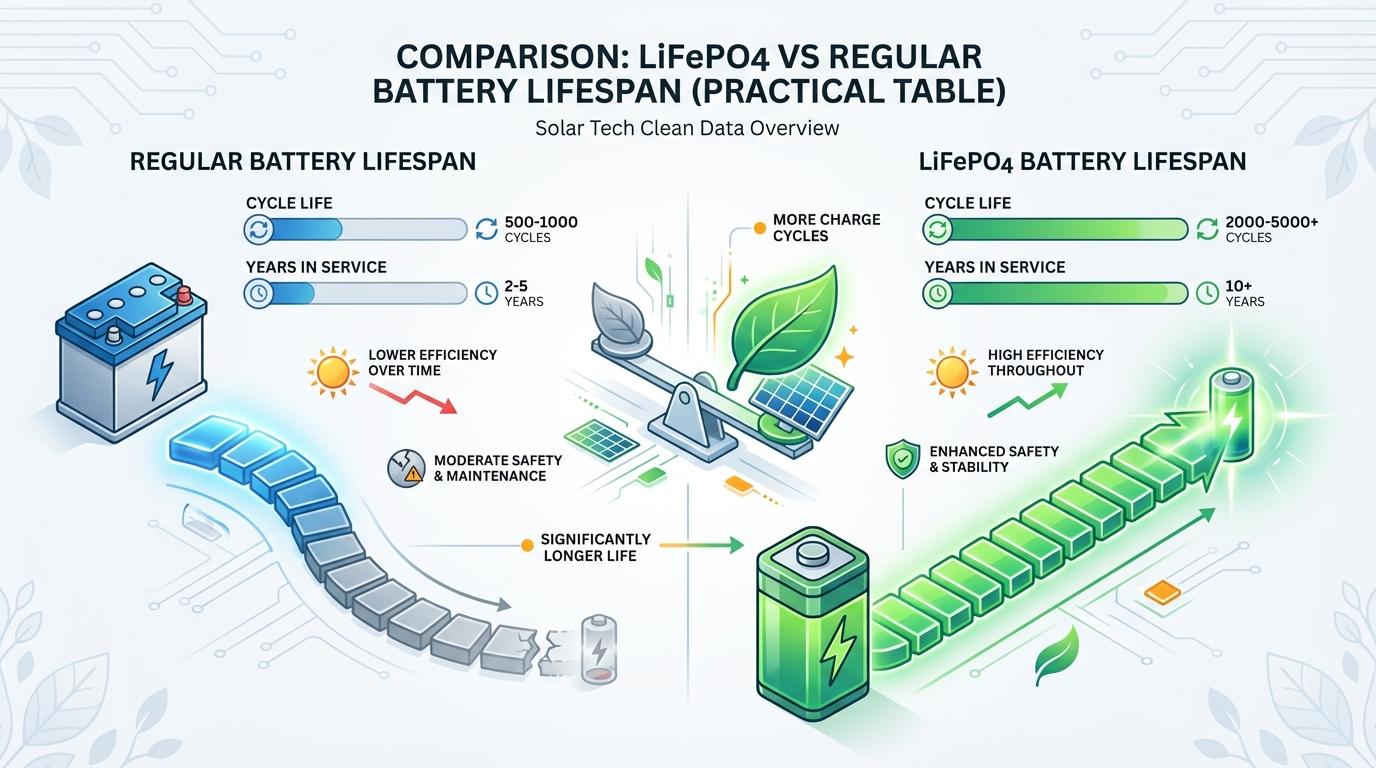
LiFePO4 vs Regular Battery Lifespan (Practical Table)
A lead-acid battery can lose performance from aging and sulfation, so chemistry choice directly affects how often solar fan backup systems need replacement.
| Parameter | LiFePO4 (Lithium Iron Phosphate) | Regular Lead-Acid (AGM/Flooded) |
|---|---|---|
| Typical cycle life | 2,000-6,000 cycles | 300-800 cycles |
| Typical service life | 8-15 years | 3-7 years |
| Usable capacity per cycle | High (often 80%+ usable) | Lower (about 50% recommended for longevity) |
| Weight for similar usable energy | Lower | Higher |
| Charge acceptance in limited sun | Better | Slower as battery ages |
| Maintenance | Low | More monitoring; sulfation risk if undercharged |
These are typical field ranges, not guarantees. Always match controller settings to battery chemistry and voltage.
Cloudy-Day Runtime Tips That Actually Work
A thin strip of shade can sharply reduce output, so cloudy-day performance depends heavily on panel placement and load planning. On overcast days, treat charging as energy saving, not full recovery.
If your fan has battery backup, prioritize daytime charging windows, reduce unnecessary fan speed, and keep intake/exhaust vents clear so each watt moves more air. If your model supports AC adapter backup, use it during multi-day overcast periods instead of deep-cycling a weak battery repeatedly.
Overcast-day survival moves
- Reposition panel toward open sky (no partial shade).
- Clean panel early in the day.
- Run peak ventilation during brightest hours.
- Avoid unnecessary high-load accessories.
- Recharge to full on the next clear day.
FAQ
Q: My fan starts late in the day only. Is that a failure?
A: Not always. Low morning solar input or thermostat thresholds can delay startup until the attic gets hotter.
Q: Should I replace the motor first if the fan is slow?
A: Usually no. Check sunlight, panel cleanliness, airflow path, and wiring first; these are more common causes than motor failure.
Q: Can I switch from lead-acid to LiFePO4 directly?
A: Only if your charge controller supports LiFePO4 charging profiles and your voltage/current limits match.
Practical Next Steps
Use this checklist before paying for repairs:
- Test once in full direct sun with known-good cables.
- Confirm thermostat behavior at actual attic temperature.
- Clean panel and clear vent obstructions.
- Verify controller settings match battery chemistry.
- Replace only the part that fails a direct test.

Ray Harlan
Ray Harlan is a seasoned American solar energy expert and Farseen's lead advocate for practical off-grid living. Born and raised in sunny California, with 14 years of hands-on experience in rooftop solar, microgrids, and real-world deployments across the U.S. and beyond, Ray has lived through everything from Texas blackouts and Florida hurricanes to Southeast Asian night markets and remote camping trips. He's not just theorizing-he has tested low-cost lighting and fan systems for street vendors, built emergency food preservation setups during multi-day power outages, and fine-tuned solar solutions for hot nights, kitchen ventilation, and disaster readiness. His mission is simple: turn sunlight into reliable, everyday power for families, small businesses, and outdoor enthusiasts. Every article he writes draws from field-tested insights, honest cost breakdowns, and straightforward step-by-step advice so you can confidently harness solar energy in your own life.