A solar exhaust fan plus a small LED work light can make a no-fridge kitchen drier, easier to clean, and less attractive to mosquitoes when used with a strict daily routine.
Do you walk into your kitchen at night and notice damp walls, a sour smell, and mosquitoes near the sink? In real no-fridge setups, those problems usually improve when households run a high-low airflow path, keep food off the floor, and do fast dry-down after cooking for 2-4 weeks. This guide gives you a practical setup, inspection workflow, and rainy-season routine you can start today.
Why No-Fridge Kitchens Get Damp and Buggy Fast
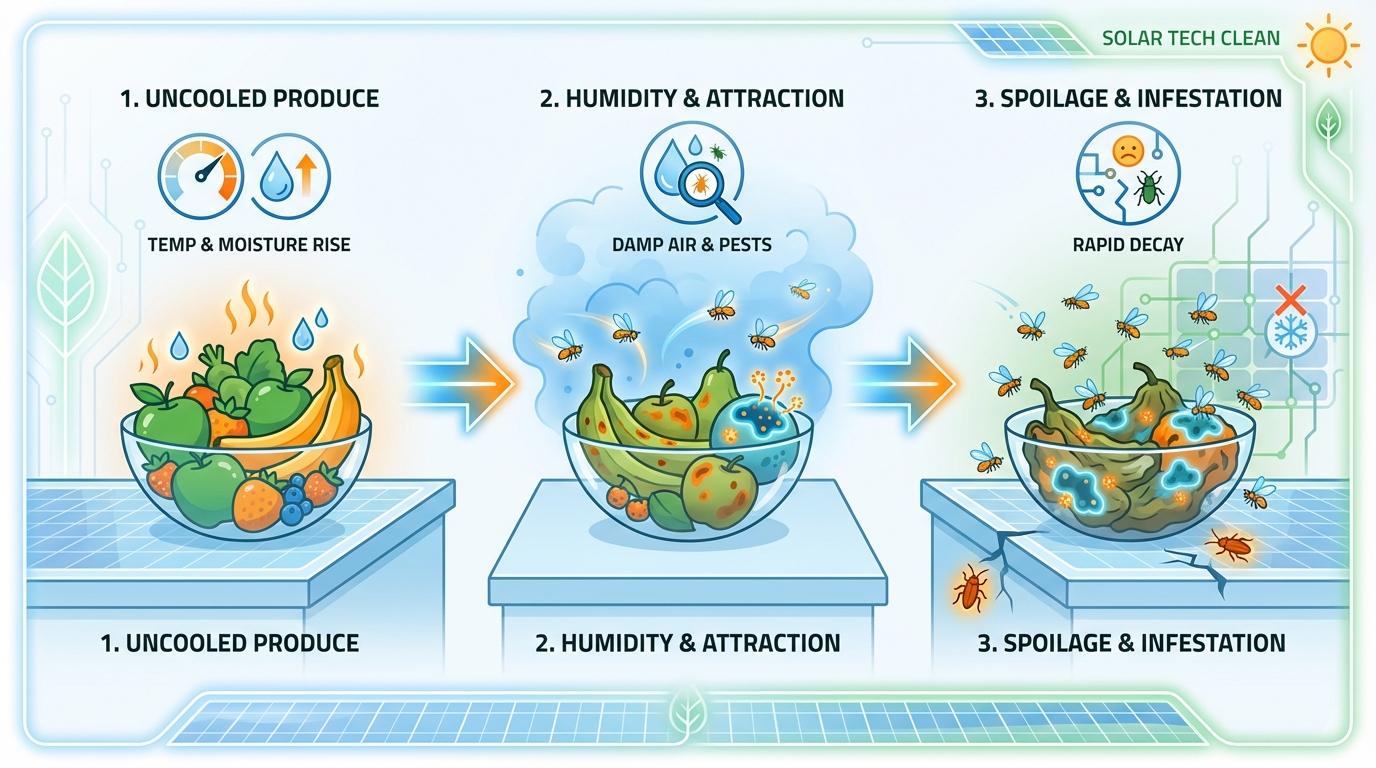
Off-grid food risk rises quickly because the 40°F to 140°F danger zone allows fast bacterial growth in warm kitchens. When cooking steam stays trapped, wall corners and cabinet backs stay damp long enough for mold to return.
Most no-fridge kitchens fail from airflow design, not from “poor cleaning.” One open door is rarely enough; you need low air intake and high exhaust so warm moist air can leave instead of circling indoors.
Mosquitoes are usually worst where moisture, darkness, and still air overlap: sink corners, floor-level buckets, wet cloth piles, and closed cabinets. The fan-light combo helps most when it is tied to a dry-surface routine, not treated as a standalone fix.
What the Solar Fan + LED Combo Should Include
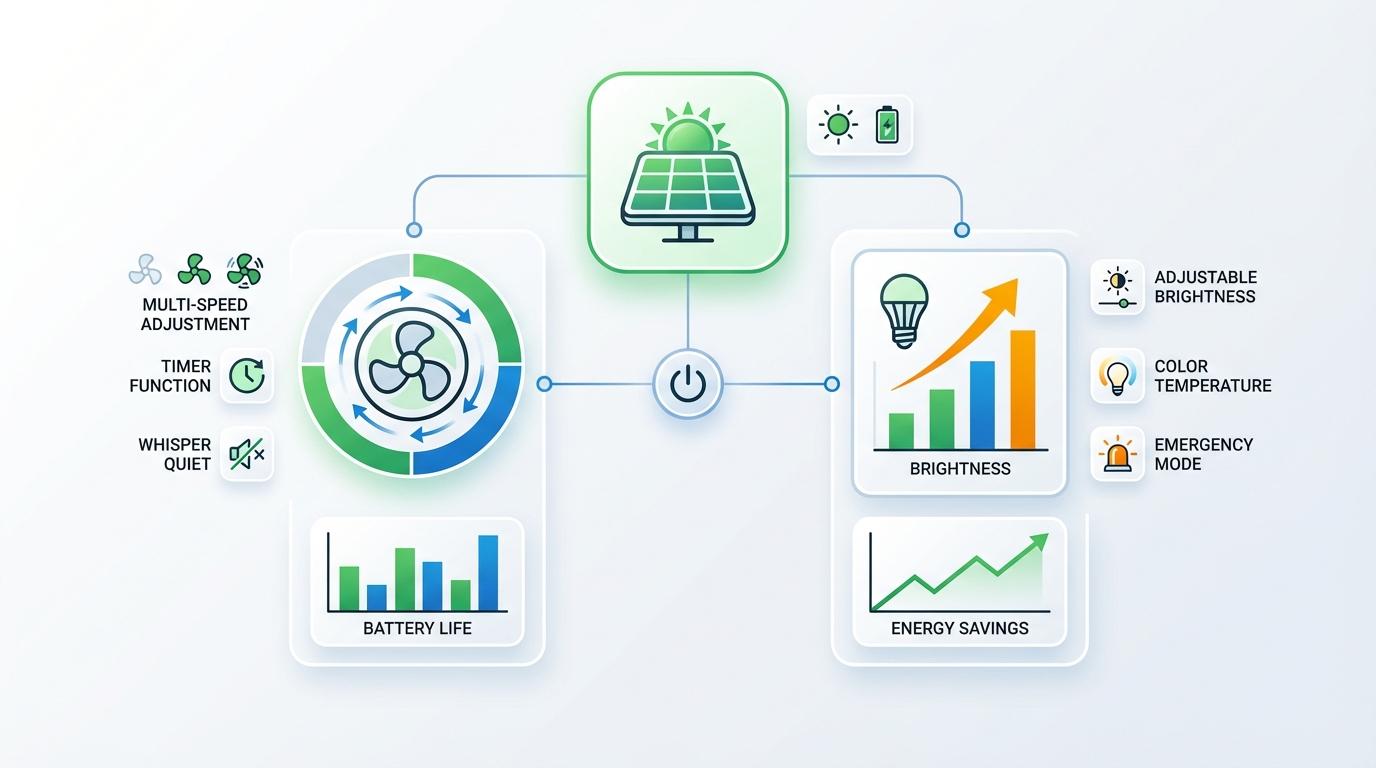
A 2.5W solar ventilation fan is specifically marketed for moisture removal and mold-risk reduction, and its listed roof cutout is about 4.8 x 4.8 in. That size is workable for many small off-grid kitchens and utility sheds.
A solar rechargeable fan listing with LED and mosquito mode shows a practical combo spec: built-in light, USB charging, runtime options, and airflow up to about 10 mph (vendor claim). Use this as a feature checklist, not as proof of field performance.
Layout matters more than brand. Put the exhaust high near the stove, keep a low intake opening on the opposite side, store food at least 8 in off the floor, and keep bins 2-4 in off walls so hidden surfaces can dry.
Fan + LED Inspection Workflow (Weekly, 7 Minutes)
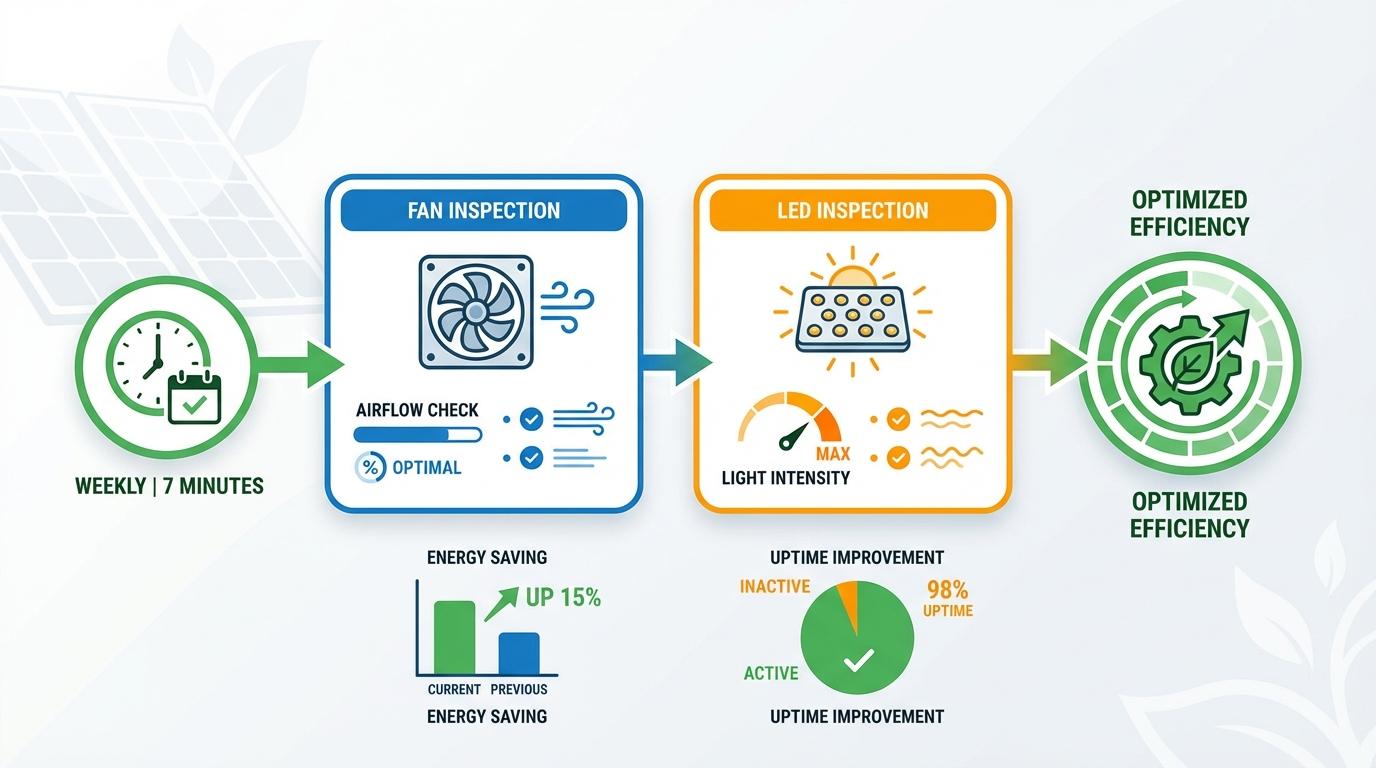
A short weekly check prevents the “works today, mold returns next week” cycle.
Step-by-step check
- Check the solar panel at 1:00 PM: wipe dust, verify charging indicator, confirm no shading.
- Run fan speeds low to high for 60 seconds each: listen for blade rub and airflow drop.
- Turn on LED for 15 minutes: confirm stable brightness and no flicker.
- Test mosquito mode (if included): confirm it actually activates and times out correctly.
- Check vent path: clean mesh/screens, remove grease film from fan guard.
- Log one humidity and odor reading: aim to keep routine kitchen RH below 60% and “no musty smell” by bedtime.
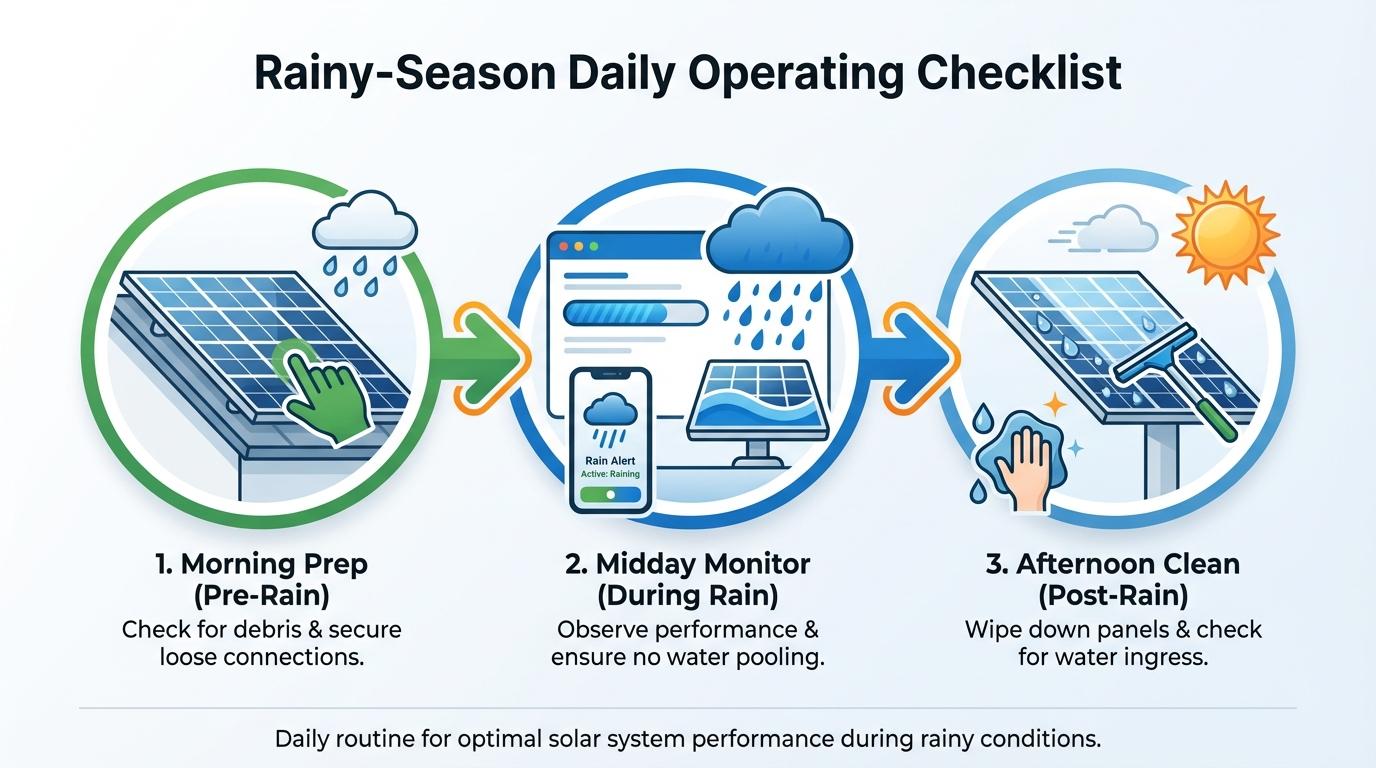
Rainy-Season Daily Operating Checklist
Rainy periods need short, repeated ventilation blocks instead of long open-window periods that pull in wet outside air. In practice, 10-15 minute bursts several times per day work better than one long session.
Use this daily routine during wet weeks:
- 7:00 AM: open low intake + run fan for 10-15 minutes before cooking.
- During cooking: keep lids on pots when possible to cut steam release.
- Right after cooking: keep exhaust running for 30 minutes.
- 2:00 PM: do a 10-minute “dry sweep” of sink, stove wall, and floor corners.
- 7:30 PM: wash and fully hang cloths, mop heads, and scrub pads.
- 9:00 PM: leave a safe high vent gap and remove all wet trash.
Food Safety Rules You Should Not Bend
The FDA 2-hour rule is the hard line for perishables at room temperature, and it drops to 1 hour when ambient temperature is above 90°F. In no-fridge kitchens, this means cooked beans, fish, eggs, and leftovers should be planned for immediate use.
The CDC outage guidance reinforces that perishable food above 40°F for 4 hours should be discarded. This is why “small batch, fast turnover” beats bulk cooking in humid off-grid homes.
Salt and drying can help, but preservation is not sterilization. A Food Microbiology study on NaCl and water activity showed meaningful reduction of several pathogens under specific low-water-activity conditions, while a review on salt stress survival in S. aureus shows why high-salt foods still need strict hygiene and handling.
Real African User Case: What Transfers to Your Kitchen
A long-term off-grid food practitioner reports nine weeks of camping in Africa and years of low-refrigeration living, with methods centered on rotation discipline, dryness, and storage design rather than heavy equipment.
The transferable lesson is simple: keep purchase cycles short (1-2 days for leafy produce, 3-5 days for root crops), isolate wet and dry zones by at least 3 ft, and never leave damp tools in closed cabinets overnight.
If you add a solar fan + LED combo to that workflow, the system becomes easier to sustain: better visibility during night cleanup, faster post-cook drying, and fewer wet hiding spots for insects.
FAQ
Q: Can a solar fan alone stop mold in a no-fridge kitchen?
A: No. It reduces moisture load, but mold control still depends on daily dry-down, storage spacing, and leak control.
Q: Is LED lighting really part of mold prevention?
A: Indirectly, yes. Better lighting improves end-of-day drying and corner checks, which lowers missed wet spots.
Q: What should I buy first on a tight budget?
A: Start with one high-mounted exhaust fan, washable screens, two extra cloths for rotation, and raised storage racks.
Practical Next Steps
- Install one high exhaust point and one low intake point this week.
- Raise all food storage at least 8 in off the floor and 2-4 in off walls.
- Run the 7-minute fan+LED inspection every week.
- Follow the 6-step rainy-season checklist every day for 14 days.
- Track odor, visible mold, and mosquito pressure nightly to confirm improvement.
References
- CDC food safety after emergencies
- FDA food and water safety during outages and floods
- Food Microbiology NaCl preservation study
- NCBI review on S. aureus under high salt stress
- Solar ventilation fan example specs
- Solar fan + LED + mosquito mode listing
- Off-grid no-fridge practice notes and Africa field experience
- Off-grid food safety temperature guidance summary

Ray Harlan
Ray Harlan is a seasoned American solar energy expert and Farseen's lead advocate for practical off-grid living. Born and raised in sunny California, with 14 years of hands-on experience in rooftop solar, microgrids, and real-world deployments across the U.S. and beyond, Ray has lived through everything from Texas blackouts and Florida hurricanes to Southeast Asian night markets and remote camping trips. He's not just theorizing-he has tested low-cost lighting and fan systems for street vendors, built emergency food preservation setups during multi-day power outages, and fine-tuned solar solutions for hot nights, kitchen ventilation, and disaster readiness. His mission is simple: turn sunlight into reliable, everyday power for families, small businesses, and outdoor enthusiasts. Every article he writes draws from field-tested insights, honest cost breakdowns, and straightforward step-by-step advice so you can confidently harness solar energy in your own life.